The best way to make 12 masks in one go
This is a step-by-step tutorial for making twelve Armadillo Masks.
This mask has two fabric layers that form an inside pocket to insert a removable third non-woven material layer. This mask is not a medical mask. It follows the CDC guidelines and French health officials recommendations. Their advice is that cloth masks should ideally be made in cotton, be triple-layered, have no sagittal seam (vertical seam on the nose) and be washable at hot temperatures.
This tutorial is intended to be used by intermediate makers or beginners (with support)
Whether you want to make masks for your whānau, for an organisation or to sell on your Etsy shop, knowing how to make many masks fast is very important. I am hoping this workbook will help you do that.
I choose not to sell my masks. If you were donated one of them or are grateful for this tutorial, please consider a donation to the North East Valley Community Development Project.
Download the workbook to make 12 Armadillo masks
Donate to the NEV Community Development Project
What you need
- Basic sewing kit (pins, needles, scissors, marking pen, seam ripper…etc)
- Rotary cutter or scissors
- Cutting mat
- Measuring tools
- 1m to 1.2m of 100% firmly woven cotton (see cutting layouts for yardage)
- 24 elastic ties for ear loops (15 to 23 cm depending on the head size and the stretch in your elastic)
- or 24 fabric ties for head ties ( 5cm x 75cm )
- or 12 fabric ties for a long tie with a neck loop ( 100 – 130cm )
- Nose bridges (pipe cleaners, twisted garden wire…etc)
- Magic Spray (1/2 white vinegar – 1/2 water)
Process
1 – Preparing and cutting your fabric
2 – Closing the mask
3 – Forming the nose bridge casing
4 – Shaping the pleats
5 – Sewing the first strip
6 – Inserting the nose bridge
7 – Sewing the second strip
8 – Adding the ties
1 – Preparing and cutting your fabric
The best material for masks is a light but firmly woven 100% cotton. Percale often used for home linen (sheets and duvet covers) and poplin are good choices if you have some. Although a bit heavy, quilting cottons are also suitable A loose weave won’t provide adequate protection. Your fabric should be able to resist a wash at a temperature of 60 degrees minimum for a cycle of at least 30 minutes.
- Wash your fabric
- Press your fabric
- Study the cutting layouts for the best cutting options ( You can save a lot of material if you take some time to optimise your cutting by placing your pattern pieces in the most efficient manner.)

Trace using cutting layouts

Cut panels and strips
- Trace and cut out 12 panels and 24 strips using rotary cutter or scissors.
- You can also at this point cut your ties if you want to make them out of fabric. Wether fabric bias or T-shirt strips, 4 to 5cm width is sufficient. Your final ties should be around 75cm long for two ties, 100 – 130cm for a single tie. The best is to try different widths and make samples before cutting your ties.

Cut 12 panels 19cm x 35cm and 24 strips 7.5cm x 10cm
2 – Clothing the mask
- Fold each panel in half, right sides together (print on print).
- Pin, placing your 2 pins at approximately 5cm from each edge.
- Stitch the top of the mask. Seam allowance is 1.2cm. Make sure you backstitch on each side of the filter opening. (There is no need to be too precise, you do not have to use pins, you can simply fold your panels and eyeball the stitching. Make sure the gap is big enough for a filter to be inserted)
- Press open.

Place your pins to mark the filter opening

Press the top seam open
3 – Forming the nose bridge casing
- Topstitch one of the seam allowance sides (any side) making sure you do not sew more than one layer. Whichever side you do NOT topstitch will be the top of your mask where you will insert the nose bridge.

Press the top seam open

Be careful to only sew one layer
- Fold the top of the mask forming a casing wide enough for the nose bridge. Press.
- Topstitch the nose bridge casing.

Form the casing for the nose bridge

Topstitch the nose bridge casing
4 – Making the pleats
- Place the mask face down on your ironing table with the nose casing at the top. Fold the mask in half (horizontally), press to form a central crease. Open the mask.
- Fold again to align the top and bottom halves to the centre line. Press the two newly formed creases. Be careful not to press the central crease flat. You now have 3 creases.

Fold in 1/2 to mark the first crease

Fold again and align to the central line

The 3 creases marked
- Turn the mask over. On the outside of the mask, tuck the pleats under so that they are facing away from the top. They should be pointing down on the final mask.
- Magic Spray and press. The vinegar/water solution helps to mark the pleats sharply and hold them in place.
- Pin the pleats on both sides, away from the edge. Measures can be approximative but if you fold your mask in half (pleats on pleats), you can check that they are more or less even.

Tuck the pleats under

Magic Spray !

Pin the pleats
5 – Making the side strips
- Fold top and bottom edge of each strip. Measurement is not too important at this stage as you’ll be able to adjust lengths in the next step. Press.
- Fold the strips in half (lengthwise). Press.

Fold top and bottom of each strip

Fold each strip in half
First strip
- Pin the first strip on the back side of the mask panel.
- Sew in place (0.6 cm or so seam allowance). Press open.

Pin thge first side strip on the back side of the mask

Press Open
6 – Insert the nose bridge
- Insert the nose bridge in the casing. The best is to use metal nose bridges if you can find them. They can be salvaged out of single-use masks and recycled in cloth masks. You can also use garden ties (some are thick and very flexible). Pipe cleaners are another alternative. Some file fasteners are suitable but most of them are too sharp and can cut your fabric. Be creative.
- Once inserted, secure the nose bridge in place with a tack on both sides.

Insert the nose bridge

Secure the nose bridge on both sides with a tack
7 – Second strip
- Sew the second strip on the back side of the mask.
- Press open.

Sew the second strip in place
8 – Adding the ties
- Tuck the elastic length under the seam allowance and fold the strip over to enclose it.

Place the elastic in the seam allowance
- Close the casing by stitching on the front of the mask.
- Make a knot and rotate the elastic loop to hide the knot in the casing.

Rotate and hide the knot inside the casing
My mask protects you,
your mask protects me.
Wear a mask. For now.
This workbook was developped by Kate Grace.
Special thanks to Louis Grace who checked Kate’s originally obscure instructions and sorted out the cutting layouts.

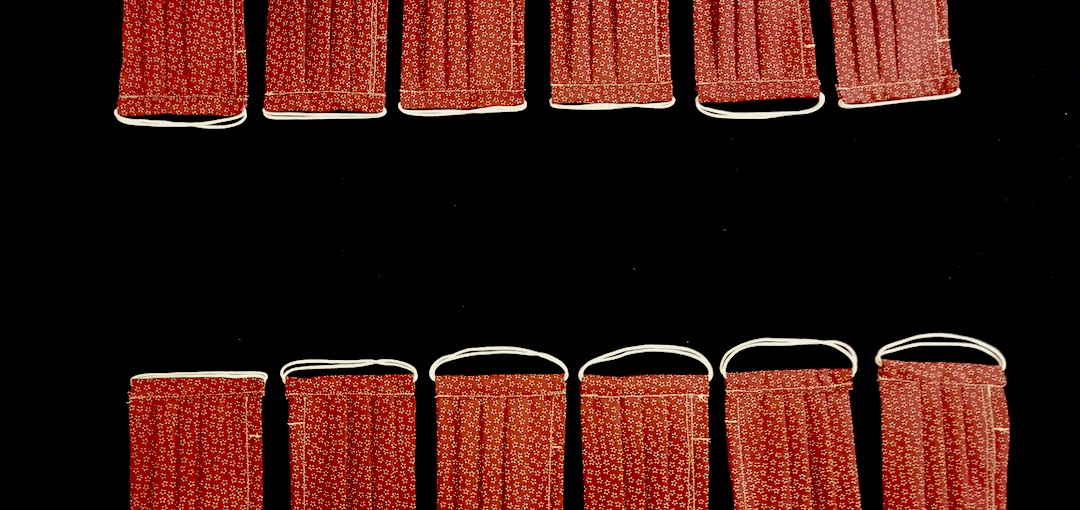
12 Armadillo Masks !